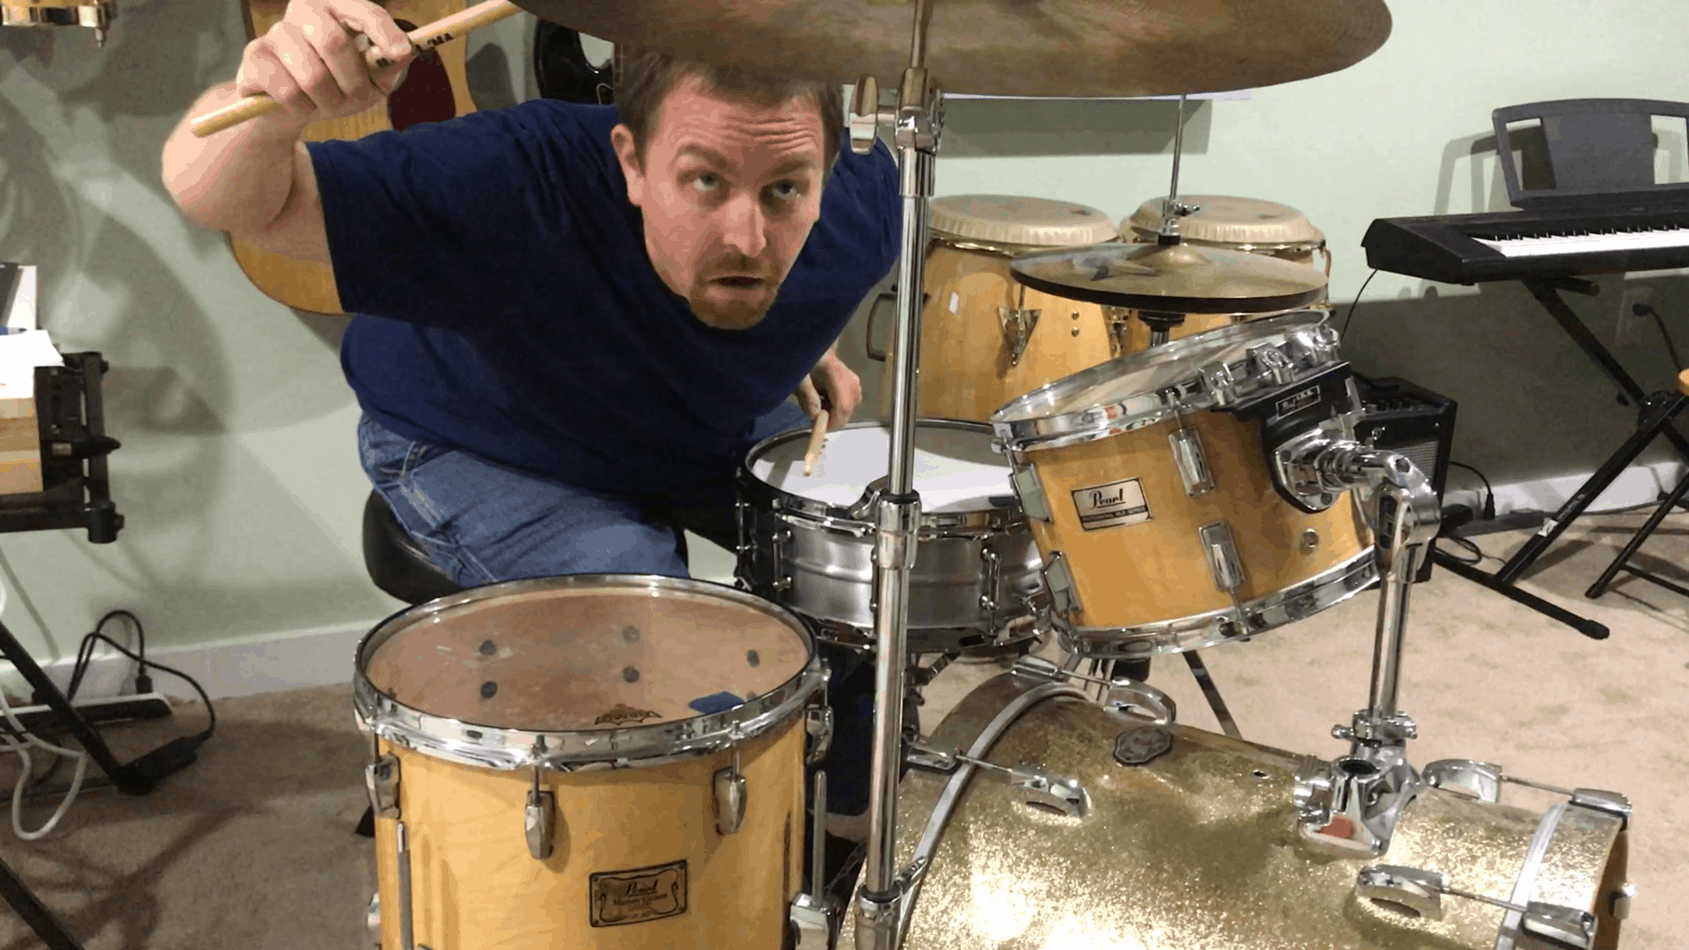
Setting up drums is one of those things that takes years to figure out. All of the different issues aren’t apparent on day one because you haven’t really played much or developed your skills. When I think back to all of the mistakes I’ve made, I wondered how many were really worth sharing.
This list shares the recurring issues / mistakes to which solutions must be maintained for success. Some of the mistakes are things that take gigging experience, while others are things that I wish I had known playing drums in my garage.
I wrote an article about setting up a drum set. It contains more of the basics and other details that you would need to know to successful with your setup.
Like anything we talk about on this site, this list is meant to be a guide, not the rule. They are just ideas that work for many people. You might have something that works for you. If so, let us know in the comments below. Likewise, please ask us questions in the comments so everyone can benefit from the discussion.
1. Sliding Around the Floor
Drums don’t work well if they don’t stay in one place, so sliding around the floor is a setup fail, for sure. To avoid this, drums come with spurs and rubber feet. On the floor toms you’ll likely have rubber feet, while kick drums often come with spurs. The spurs may have spikes on the end, as well as rubber components.
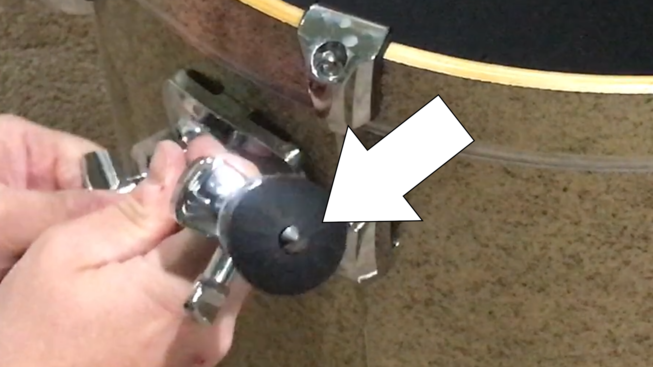
If you don’t want the spurs to dig into the floor, bring a rug. I always bring my own area rug with a rubber back, so it doesn’t slide around. That way, no matter where I go, I know that my drums will not move around, which can get ugly.
First, the kick drum starts to get away from you. Next thing you know, the drum set is sliding off the Riser or heading toward the bar. You don’t want that.
2. Sitting Too High or Too Low
Drummers like to sit different heights. We all have different body types and a variety of preferences, and there’s nothing wrong with that. But there is a place where you’re too low or you’re too high.
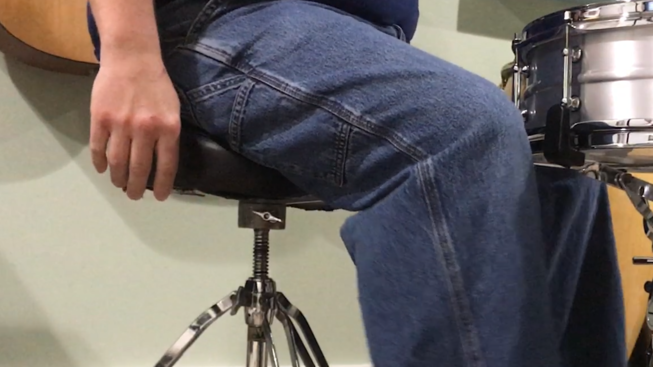
Make sure that when you adjust your throne that you actually have a throne. Sometimes the chair from your dining set that’s been packed in the garage is just the wrong height. Then you have to sit on a phone book or you have to saw the legs off the bottom. The drum throne solves this problem, 100 percent.
As a developing player, you might find that you like to sit at one height during one point in your development, while later you may realize that raising your throne a little bit is better for you. Perhaps you adjust your posture as you grow as a performer, and, as you develop your muscles and technique, you get to a point where you want to lower it down a little bit. Steve Gadd sits low, and Jeff Porcaro always sat low. There’s nothing wrong with that.
I like to sit somewhere in between. As long as my hip joints are just a little bit higher than my knees, I can move around the drums well and my feet move more fluently and freely because I can remain relaxed as I play.
3. Setting Up Drums Too High
Once your throne height is set where you want it, the height of your snare drum is the next priority. If the drum is too high, you can hit the rim and not the head. If the drum is too low, and you attempt a rim shot, you’re going to hit your leg and not the rim. Make sure that that height is comfortable for you and the kind of playing that you want to achieve.
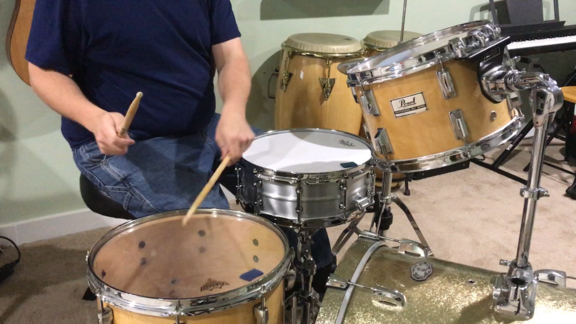
Memory locks are a lifesaver because they help to ensure your drums are set at the same height every time. I play Pearl drums, so the memory locks are on the tom arm tubes. But it’s the same concept whether you’re using Tama or Yamaha or other brands.
You set the memory lock where you want to keep the hardware every time, so when you take out the hardware, it’ll be ready to receive the instrument at that same place where you left it when you set up at the recording session or the next gig or just back at home for your own rehearsal or practice.
4. Finding Enough Space
How many times have you showed up to a gig and there’s no space? The sound engineer and the guitar players and whoever’s there will look at you like, “Hey, we left some room for you.” But you couldn’t even like fit your kick drum in that space. You couldn’t even sit your thrown down and a snare drum. Never mind the kick drum and the toms and the cymbals.
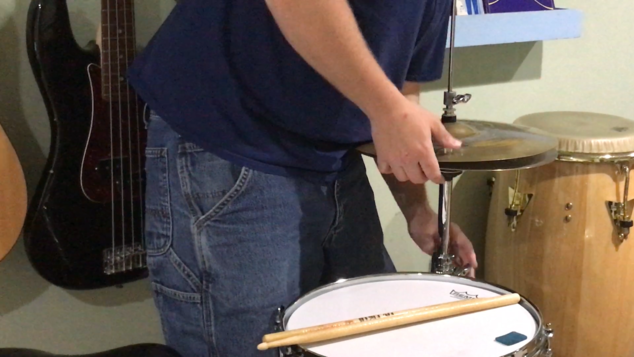
This is why it’s always better to get to a gig early so you can carve out your space. Sometimes this means having a conversation with the other musicians as they arrive. There’s not much worse than getting to a gig, setting up, and needing to move your hi hat stand or other stuff to get out from behind your kit.
The same goes for setting up anywhere, for that matter. Setting up your drum set at home is probably the most important place you’ll need to find enough space. It’s where you practice, hone your skills, and sometimes rehearse with a band for the important performances.
If you have to make adjustments like leave out a crash cymbal or leave out an extra tom, it’s not the end of the world. You can adjust and accommodate those smaller spaces, but it’s just important to think about that before you get there and certainly to think about it before you start setting up and playing.
5. Too Far Away, Too Close
How far is too far? How close is too close? These are questions that can be answered easily if you remember one fundamental of drum set performance: erratic motions make erratic sounds. This is an Ed Soph teaching, and it is impacted by where you place your drums and cymbals.
For more about Soph’s lessons, here’s an article I wrote about methods books. Soph’s book is summarized, among others.
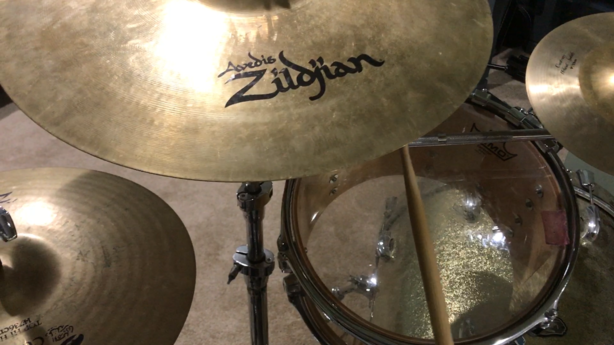
Drums and cymbals should be reachable. You should be able to move very comfortably to that instrument. You shouldn’t have to move too far like lean forward or lean to the right or move your body any weird ways to access that drum or that cymbal.
So it’s important to make sure that the drums and cymbals are comfortable to reach in that they’re not too far away. Likewise, you don’t want them too close. If they’re all right up in your space, how are you going to be able to play, right? Using the space so that it facilitates your movement and music is ultimately the goal.
6. Too Many Cymbals
It’s not uncommon to see a young drummer with several crash cymbals. Who needs seven crash cymbals? Who needs two ride cymbals who isn’t playing jazz? Who needs three hi hats?
Okay, I get it. Cymbal stacks are really cool. Different sized hi hats and splash cymbals are really cool, too. But at some point you have to ask yourself, is this really what my gig calls for?
If you’re interested in more ideas about cymbal sounds, check out this article about ride cymbals versus crash cymbals.

The mistake that young players often make is that they think that more cymbals will be what makes them sound good — all those different crash cymbals. The fact is that one crash cymbal, one ride, and one hi-hat is all you need. If you can’t get it done with a few drums and a few cymbals, you’re not gonna get it done with more.
On the other hand, it’s exciting to buy new gear. I get the Gear Acquisition Syndrome — the G.A.S. — once in a while. It’s awesome to get a brand-new snare drum, especially if it’s a sound that you’ve been looking for for a while.
It’s great to get a new crash cymbal or a splash and have that new accent and that wash that you didn’t have before. Just make sure that you’re not making the mistake of thinking that that’s going to be the difference for you. A cymbal won’t be the thing that helps you level up your drumming, today.
7. Cymbal Felts and Protectors
Felts and protectors are very important when it comes to maintaining your cymbals. You don’t want to make the mistake of setting these up wrongly. That can lead to costly damage that no one wants.
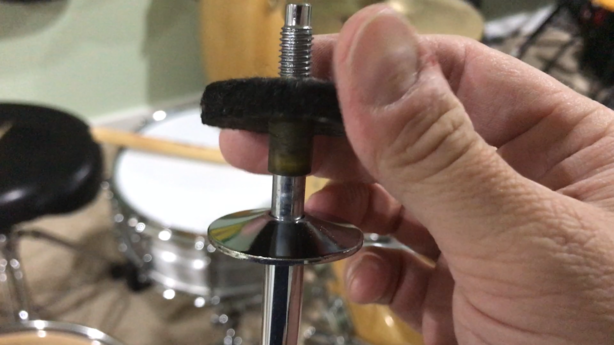
On the hi-hat clutch, there’s two felts, and usually the top hi hat cymbal is tight between the bottom nut and the two top nuts. A ride or crash cymbal, on the other hand, move around quite a bit while you’re playing them, so your felt and other upper cymbal hardware game needs to be solid.
For more information on setting up your hi-hat stand, this article includes steps and some do’d and don’ts.
You want to make sure that you have the felt on the bottom, but then also the plastic piece that covers the metal part of the hardware because you don’t want them cymbal hitting metal on the hardware.
If you don’t protect the cymbal, you can get keyholing. It will notch out a little keyhole in your cymbal, and that’s no good. It leads to cracking and ruins the cymbal, which is a shame because it’s easily preventable.
Upper cymbal hardware kits are inexpensive. They include the plastic pieces that go over your hardware, washers, and felts. Make sure that you check out what fits your hardware — whether you have Tama or Yamaha or Pearl hardware.
If you have nothing at all, and you want to get started right away, duct tape will last for about four to six hours. This depends on how much you play that cymbal, but duct tape is better than nothing. Duct tape or Gorilla tape. Whatever strong tape you have, put it on there. And keep an eye on it — inspect it once in a while.
But really, get to the store. Get on amazon.com and buy some of those protectors for your cymbals.
Final Thoughts
We all have ideas about what works, and many of those preferences come from lessons learned from setup fails. Out of all the mistakes I’ve made, throne height and posture have been some of the worst. Adjusting the placement of my snare, ride cymbal, and throne in ergonomic positions was the beginning of a new era in my development as a drum set player.


